Sunday, June 22, 2014

Chocolate Avocado Cookies

I love avocados. I have been hearing about baking with them and happened to have one that is too soft to eat sliced so I decided I'd try baking it. So I decided to try this avocado cookie recipe.


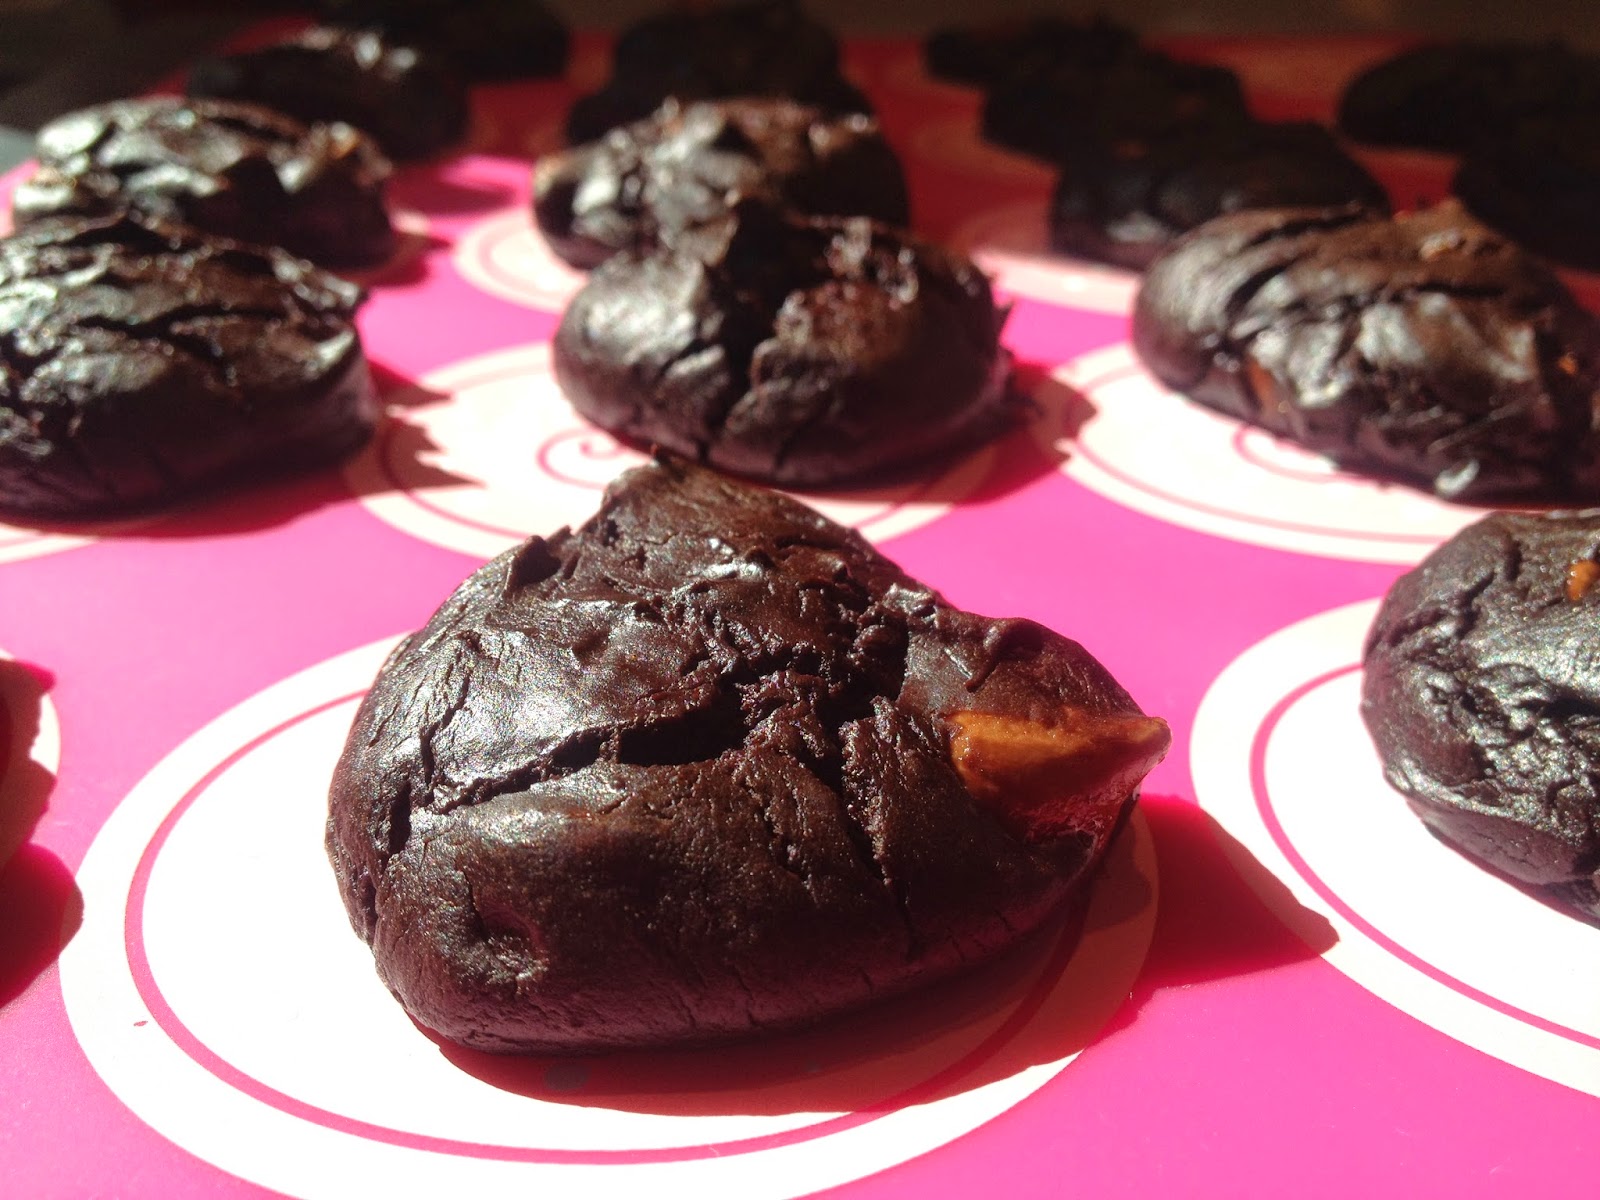
They are amazingly quick and easy to make and I was pleased by the resulting soft chocolatey cookie. While my husband said he couldn't taste the avocado, for me, the first bite of each cookie (I've sampled a few) tastes like avocado, which could just be because when I pick one up I think 'this is an avocado cookie' and after the first bite I don't notice the avocado flavor anymore.

So, here's what I did
Use a mixer to combine
1 very ripe avocado
1/2 cup coconut sugar
1 egg
1/2 cup cocoa powder
1/2 teaspoon baking soda
once the batter is smooth mix in by hand
1/2 cup chocolate chips - I used large milk chocolate chips

Put dollops of batter on a lined cookie sheet. They don't spread so you may want to push them down a little with the back of your spoon to shape them. Then bake at 350 for 10 minutes.
Store in the fridge

Spent Grain Crepes with Seasonal Fillings


After a beautiful solstice yesterday with the farmers market, productivity, delicious dinner and time to sit and enjoy the beautiful evening in my backyard I woke up this morning with energy and motivation. I think it also helps that we switched our curtains from total light blocking ones to some that let the light filter in when the sun comes up... I got up thinking about pancakes and exercise. I started the day with a run and while running decided pancakes sounded good but too heavy so I decided on crepes instead. Even though we haven't brewed any beer in a few months we still have plenty of spent grain flour to use up from the last batches so I decided to throw that in too. 
Spent Grain Crepes (made 8 crepes)
1/2 cup flour
1/2 cup spent grain flour
1 Tablespoon sugar
1/4 teaspoon salt
2 eggs (beaten)
1 cup of milk

Combine all ingredients and mix with a hand mixer until smooth. If it doesn't seem runny enough for your liking feel free to add more milk. Put butter in a pan and once it is hot pour some batter in and swirl the pan to move the batter so it makes a thin coating of batter on the bottom, once edges look cooked flip and cook the other side then add the fillings of your choice. Below are the fillings I tried today. 

Savory Filling
homemade cashew cheese *
fresh cherries
arugula from the garden

Sweet Filling
Rhubarb 'compote' (left over rhubarb from making rhubarb simple syrup)
fresh strawberries


*Vegan Cahew Cheese: soak 1 cup of raw cashews is 3 cups of water for a minimum of an hour or up to overnight, drain and rinse then combine in food processor with 2 teaspoons lemon juice, salt & fresh black pepper, 1/4 cup warm water blend until smooth. 

Thursday, June 19, 2014

hand hammared clasp

I inherited some tools from my grandfather some of which I've never used until today. I decided to try to make a hook and loop clasp which was so fun and easy that I will be buying many less clasps in the future now that I can make them. And I'm using some of them in my new sea glass jewelry

Pictured above are the tools I used 

First I used pliers to to bend a small piece of wire to be the "loop" side 

Then I used the hammer to flatten it 
and used the pliers again to pinch the ends in so there were no gaps 

for the hook side I started by hammering a bit flat and then bent it to form the hook
next I bent another loop and hammered the loop part flat as well
Quick and easy! 


Wednesday, June 18, 2014

Frozen Sweet Energy Boost - banana, peanut butter, chocolate


We're having some hot days here so a quick, cold, sweet, energy boost snack sounded good.


Here's what you need:
bananas
peanut butter
chocolate chips - whatever your favorite kind is, dark, semi-sweet, milk...

I used 3 bananas and it took about 1/2 bag of chocolate chips


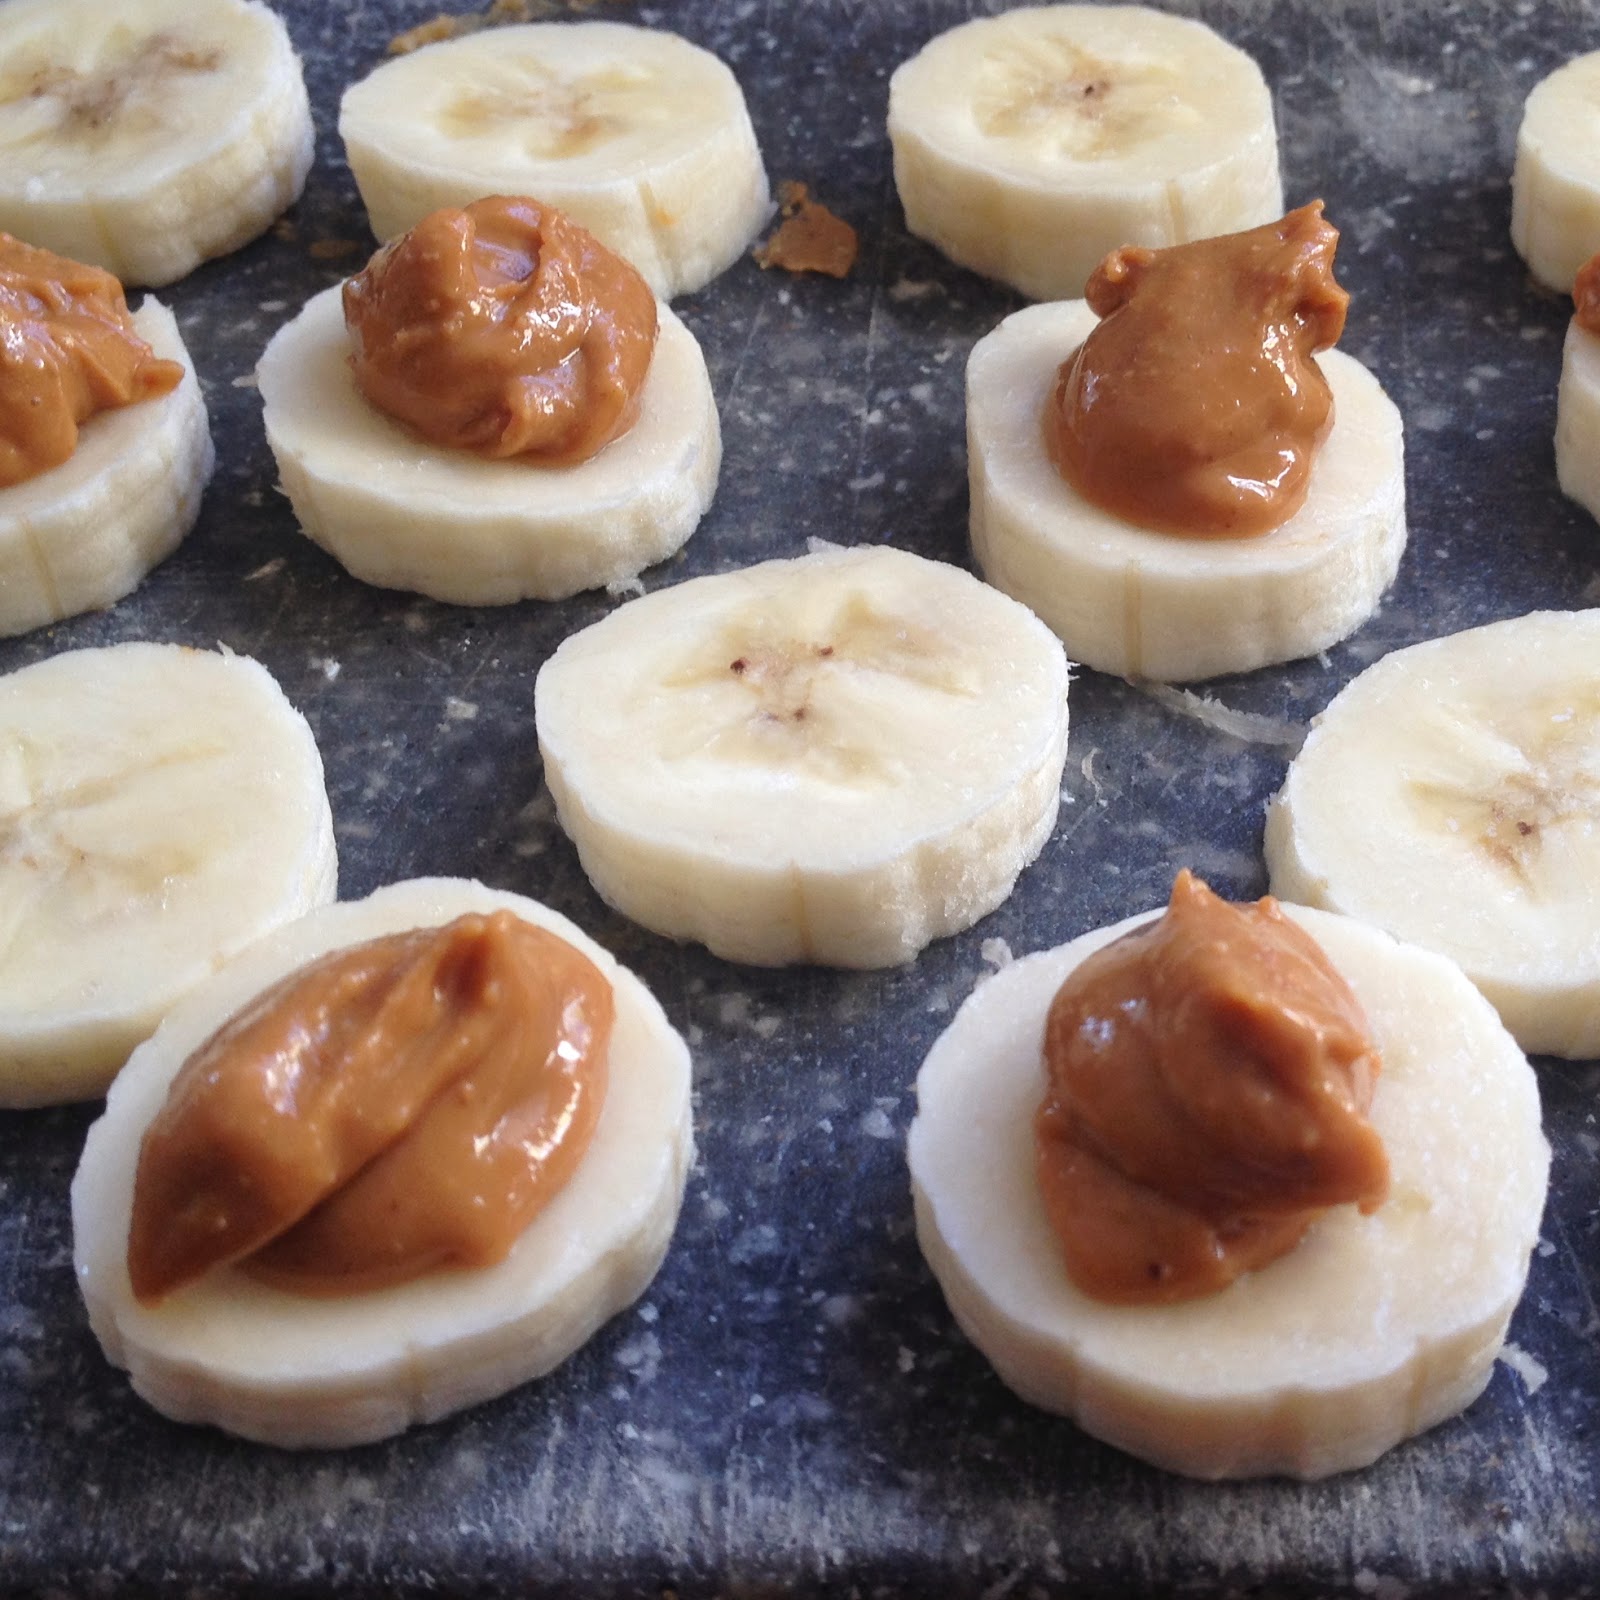
First, slice the bananas and place a dollop of peanut butter in the middle of the slice and top with another slice of banana then freeze the sandwiches for about an hour


Then, melt the chocolate in a double boiler and coat the frozen banana sandwiches in melted chocolate. I found it was easiest to stick the banana with a skewer and dip it then use a knife to spread out the chocolate. Then I put them back in the freezer and they're ready to enjoy!


Monday, June 16, 2014

Rhubarb Simple Syrup and a few cocktails

In trying to think of something to do with rhubarb other than strawberry rhubarb pie and crumble I decided to try making some rhubarb simple syrup for seasonal cocktails.


To make the simple syrup:
1 cup sugar
1 cup water
1 cup sliced rhubarb

Put all ingredients in a pot and let simmer for about half an hour.
Strain the syrup into a jar to save and I put rhubarb pulp which is like a rhubarb compote in another container but haven't decided how I'll use it yet. I love the color of the simple syrup!


Frozen Strawberry Rhubarb
inspired by the daiquiri
ice
strawberries - I used fresh but you could use frozen and cut back on the amount of ice you use
rhubarb simple syrup
your favorite clear spirits

I filled the small size Nutribullet cup half full with ice and half full with strawberries then added rhubarb simple syrup and I used Schoharie Shine but you could use rum or vodka or no alcohol at all. Then blend until smooth.

Rhubarb Collins
1 oz simple
1 oz lemon juice
2 oz gin
Add all the above ingredients to a cocktail shaker filled with ice and shake
Strain into a glass and top with soda water

Saturday, June 14, 2014

refinished Kitchen Step Stool

We bought this step stool at IKEA years ago with the intention of finishing it but years later here it is, still unfinished. After I completed my child's chair project this seemed a good next project to finally get completed. 

The things that stand out to me in our kitchen are the purple floor and red mixer that lives on the counter. Since I had some extra red paint around and left over purple floor paint I decided this would be a good way to use them and not need to buy anything new.

I began by painting the whole stool red and left it to dry completely. 


I didn't want to overcomplicate the design on the stool or create too big of a challenge for myself so I began by adding purple down the middle of the stool, all this took was some painters tape to paint between. Then I used a simple stencil I had to add a little more interest. 


Once the purple paint was dry. I gave the stool two coats of poly so it will be easy to keep clean. 
And once that was dry it was ready to be used! 


Thursday, June 12, 2014

Child's Chair Refinished

When I was growing up my parents had some small chairs and a table for my sister and I to color and play at. I ended up with one of the child sized chairs and decided to refinish it so that when there are kids visiting they can use it if they'd like. Given the extent and type of work this little chair would need it became a basement project. 

For almost any project I do in the basement the first step is to tune the radio to the classic rock station, so that's where I started.


I removed the wooden back and seat from the metal frame 


and started sanding the paint off. 


Then I sanded the wooden parts of the chair.


I knew I didn't want to just paint the chair a solid color but would add some kind of design elements so I started with a yellow base coat. 


I decided to to some birds on the chair back so I did an internet search and found some images I liked, printed them on card stock and cut them out to make stencils. 


I taped the stencils to the chair and using a foam brush and dabbing technique colored in the stencils. Removing the stencils from the chair pretty quickly after painting so the excess paint would not bleed through. 


For the seat I decided to add green stripes. I created stripes with painters tape and painted over the yellow that was exposed between the tape lines. Again I did not wait too long before removing the tape to try to keep the lines crisp. 

One the back and seat were dry I put a clear coat of poly over them to try to preserve the design and make it easy to clean. 

I used spray paint to paint the metal base white. 
Once everything was dry I reassembled the chair. 


Backyard Candles


I have started saving jars. I'm pretty sure my partner is worried I'm becoming some kind of crazy hoarder. With this nice weather and spending more time in the yard I decided to try doing faux mercury glass again using the jars for candles in the backyard.

Wednesday, June 11, 2014

Apple Carrot Cake with Maple Cream Cheese Frosting


As I may have mentioned before, I think if there is a birthday there needs to be cake. This year when I asked my husband what kind of cake he'd like he said carrot. So I got to work finding a recipe to try and decided on an apple carrot cake. I think the real appeal to carrot cake is often the cream cheese frosting and I am a sucker for anything maple so I did a maple cream cheese frosting to top it off. 


Apple Carrot Cake 

2 cups flour
1 1/2 cups sugar
2 teaspoons baking soda
1 1/2 teaspoons baking powder
1 1/2 teaspoons cinnamon 
1/4 teaspoon ground cloves
1/4 teaspoon ground nutmeg
2 teaspoons unsweetened cocoa powder
1/8 teaspoon freshly ground black pepper
1/4 teaspoon salt
1 cup vegetable oil
4 eggs
1 1/2 cup packed grated carrots
1 1/2 cup packed grated tart apples
1 cup chopped pecans

Combine the dry ingredients in the bowl of a stand mixer.
Mix the oil and eggs and mix in to the dry ingredients
Add the carrots, apples and pecans
Split the batter between two 9 inch round cake pans that have been greased and floured
Bake at 350 for 25 minutes


Maple Cream Cheese Frosting

16 oz cream cheese
1 stick butter
2 cups powdered sugar
1/4 cup maple syrup

Leave the cream cheese and butter to get to room temperature. Using a mixer, combine all the ingredients. Let the frosting chill for 15 minutes before using.